For those with round or square face shapes, contouring can be a game-changer in creating the illusion of sharper, more defined features. The key lies in understanding the natural shadows and highlights of the face and using makeup to enhance or soften certain areas. Unlike other face shapes, round and square faces benefit from techniques that add angles and dimension, making the face appear slimmer and more sculpted.
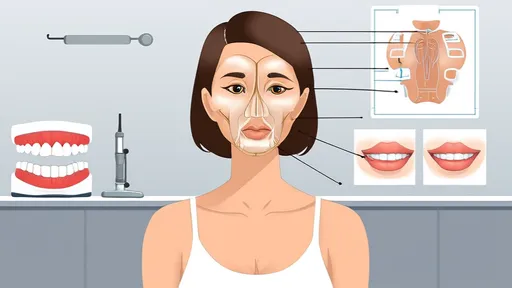
Start by identifying the areas you want to recede and those you want to bring forward. Typically, the hollows of the cheeks, the sides of the forehead, and the jawline are where shadow should be applied. On the other hand, the high points of the face—such as the tops of the cheekbones, the bridge of the nose, and the center of the forehead—should be highlighted to draw attention upward. The goal is to mimic the natural play of light and shadow that occurs on an oval or heart-shaped face.
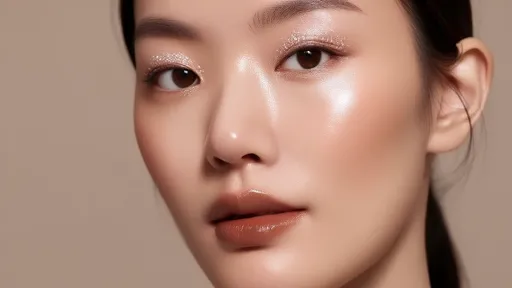
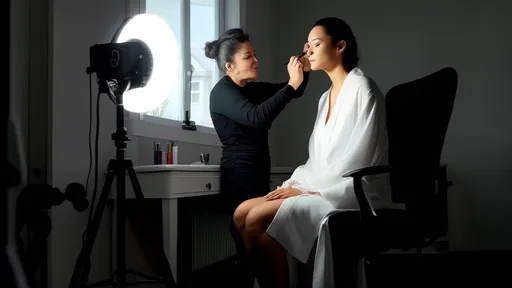
Choosing the right products is crucial. Cream contours tend to blend more seamlessly into the skin, making them ideal for beginners or those with dry skin. Powder contours, on the other hand, offer more control and are better suited for oily skin types. When selecting shades, opt for a contour color that is one to two shades darker than your natural skin tone and a highlighter that is one to two shades lighter. Avoid anything too warm or orange, as it can look unnatural.
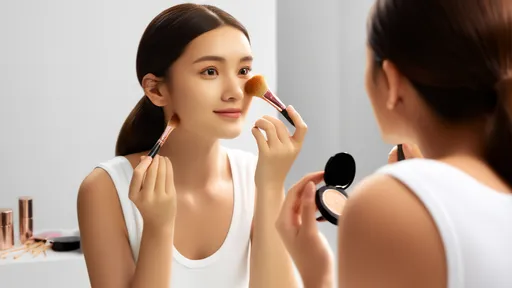
Application technique is just as important as product selection. Use a small, angled brush for precise placement of contour along the hollows of the cheeks. Blend upward toward the ears to avoid creating muddy or harsh lines. For the forehead, apply contour along the hairline and blend downward to soften the edges. Along the jawline, focus on the areas where the face meets the neck to create a more chiseled appearance.
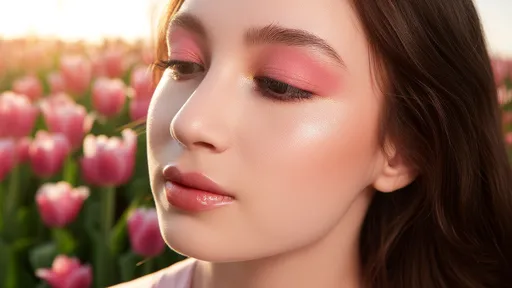
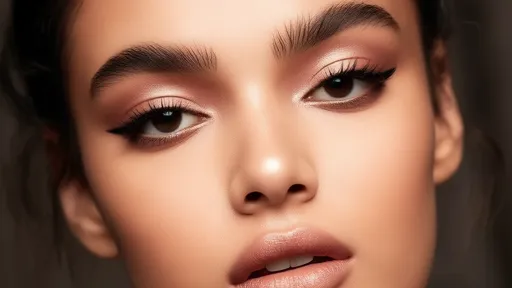
Highlighting plays a supporting role in this process. Apply a luminous highlighter to the high points of the face to create contrast with the contoured areas. This not only enhances the sculpted effect but also adds a healthy glow to the skin. Be mindful not to overdo it—subtlety is key for a natural-looking finish.
Blending is the final and most critical step. Harsh lines can ruin the illusion, so take the time to blend thoroughly using a damp beauty sponge or a fluffy brush. The idea is to create soft transitions between the contoured and highlighted areas, ensuring there are no obvious streaks or patches. If needed, lightly dust a translucent powder over the blended areas to set everything in place.
For those with round faces, focusing on the sides of the face can help create the appearance of length. Contouring the temples and extending it slightly downward toward the cheeks can make the face appear more oval. Square faces, on the other hand, benefit from softening the angles of the jawline and forehead. A little extra blending in these areas can go a long way in achieving a balanced look.
Remember, practice makes perfect. Contouring is an art that requires patience and experimentation. What works for one person may not work for another, so don’t be afraid to adjust techniques based on your unique facial structure. Over time, you’ll develop a routine that enhances your natural beauty while giving you the sculpted, slimmer look you desire.

By /Jun 28, 2025

By /Jun 28, 2025
By /Jun 28, 2025
By /Jun 28, 2025

By /Jun 28, 2025
By /Jun 28, 2025

By /Jun 28, 2025

By /Jun 28, 2025

By /Jun 28, 2025
By /Jun 28, 2025
By /Jun 28, 2025
By /Jun 28, 2025
By /Jun 28, 2025
By /Jun 28, 2025
By /Jun 28, 2025

By /Jun 28, 2025

By /Jun 28, 2025
By /Jun 28, 2025
By /Jun 28, 2025

By /Jun 28, 2025